


What Is BIOS? Experts Explain Basic Computer Startup System
Understanding what is BIOS helps explain how a computer starts. BIOS is the first software that runs when a system is powered on. Technology experts explain that BIOS initializes hardware…
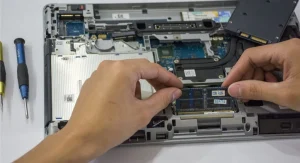
What Is Bottleneck in PC? Experts Explain Performance Limits
Understanding a bottleneck in PC helps explain why some systems do not perform as expected. A bottleneck occurs when one component limits the performance of others. Technology experts explain that…
10 Mistakes to Avoid When Buying a New Computer, Experts Warn
Understanding buying a new computer correctly helps avoid costly mistakes. Many users choose systems that do not match their needs. Technology experts explain that knowing what to avoid ensures better…
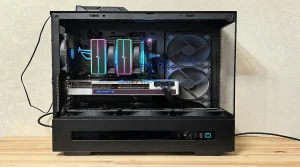
What Is a Graphics Card? Experts Explain GPU Basics and Performance
Understanding what is a graphics card helps users learn how computers display images and videos. The graphics card is responsible for rendering visuals. Technology experts explain that graphics cards improve…
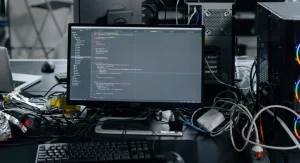
What Is an Operating System? Experts Explain How It Runs Your Computer
Understanding what is an operating system helps explain how computers function. The operating system is the main software that controls hardware and runs programs. Technology experts explain that without an…
DDR4 vs DDR5 RAM: Experts Explain Key Differences and Performance
Understanding DDR4 vs DDR5 RAM helps users choose the right memory for their computer. Both types of RAM serve the same purpose but differ in performance and features. Technology experts…
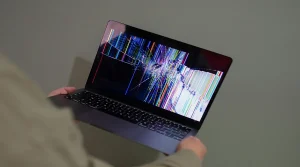
How to Fix a Computer That Keeps Freezing: Easy Solutions
A computer keeps freezing problem can interrupt work and reduce productivity. Freezing often happens due to software or hardware issues. Technology experts explain that most freezing problems can be fixed…
Refurbished vs New Computers: Experts Explain Which One to Choose
Understanding refurbished vs new computers helps users make better buying decisions. Both options offer different benefits depending on budget and usage. Technology experts explain that refurbished computers are pre-owned devices…
9 Simple Ways to Make Your Computer Faster, Experts Recommend
Learning how to make your computer faster helps improve productivity and user experience. Over time, systems slow down due to various factors. Technology experts explain that simple steps can improve…
What Is RAM? Experts Explain Memory and Why It Matters
Understanding what is RAM is important for learning how computers handle tasks. RAM plays a major role in system speed and multitasking. Technology experts explain that RAM stores temporary data…