

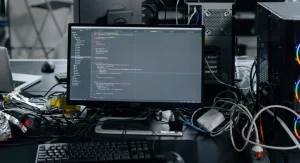


7 Ways to Improve PC Performance Without Upgrading Hardware
Knowing how to improve PC performance without upgrading hardware can help users save both money and time. Many people assume that when a computer becomes slow, the only solution is…
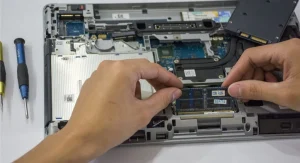
How to Clean a Computer Safely: Step-by-Step Guide Experts Recommend
Learning how to clean a computer is important for keeping performance steady and preventing overheating. Dust buildup can slow systems down and affect hardware over time. Hardware experts explain that…
Why Is My Computer Not Turning On? Experts Explain Common Causes
When a computer is not turning on, it can interrupt all work and quickly become worrying. This is a common problem, and it can happen for several reasons, ranging from…
8 PC Hardware Myths Experts Say You Should Stop Believing
Many users believe common PC hardware myths, and these misunderstandings can lead to poor decisions when upgrading or maintaining a computer. Some myths come from outdated advice, while others are…
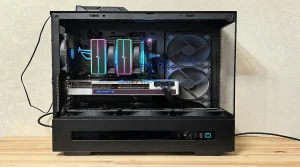
What Is a GPU? Experts Explain How Graphics Cards Work
Understanding what is a GPU helps users learn how computers handle graphics and visual tasks. A GPU plays an important role in rendering images, videos, and animations. Technology experts explain…
What Is a Motherboard? Experts Explain How It Connects PC Parts
Understanding what is a motherboard is important for anyone learning how a computer works. The motherboard is the main board that connects all the major parts of a system. Technology…
How to Check PC Specifications: Step-by-Step Guide for Beginners
Knowing how to check PC specifications helps users understand their computer’s performance and overall capabilities. It is useful when troubleshooting issues, planning upgrades, or installing new software. Technology experts explain…
DDR4 vs DDR5 RAM: Experts Explain Speed, Performance, and Differences
Understanding DDR4 vs DDR5 RAM can help users choose the right memory for their computers. RAM plays an important role in overall performance, and newer generations usually bring improvements over…
What Is a CPU? Experts Explain How a Processor Works
Understanding what is a CPU is essential for learning how computers work. The CPU is often called the brain of the computer because it controls most operations. Technology experts explain…
SSD vs HDD Explained: Experts Compare Speed, Storage, and Performance
Understanding SSD vs HDD helps users choose the right storage option for their computer. Storage affects both speed and capacity, making it an important component. Technology experts explain that SSDs…