


Why Won’t My Computer Turn On? Experts Explain Common Causes
If a computer won’t turn on, it can be frustrating and confusing. This issue can happen suddenly and may have different causes. Technology experts explain that the problem may be…
Laptop vs Desktop: Experts Explain Which Computer Is Better
Understanding laptop vs desktop helps users choose the right computer for their needs. Both options offer different advantages depending on usage. Technology experts explain that desktops provide higher performance, while…
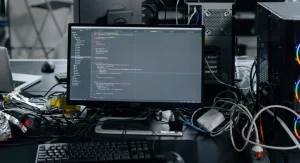
How to Speed Up a Slow Computer: Simple Fixes That Work
Knowing how to speed up a slow computer can improve productivity and reduce frustration. Slow performance is common, but in many cases, it can be improved with a few simple…
How to Fix a Computer That Keeps Freezing: Simple Steps That Work
If a computer keeps freezing, it can interrupt work and reduce productivity. Freezing issues are common and often linked to system performance problems. Technology experts explain that identifying the cause…
What Is NVMe SSD? Experts Explain Speed, Performance, and Benefits
Understanding what is NVMe SSD helps users learn about modern high-speed storage. NVMe SSDs are designed to deliver faster performance compared to traditional storage devices. Technology experts explain that NVMe…
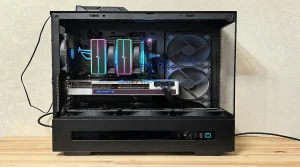
What Is a PC Case? Experts Explain Types, Airflow, and Features
Understanding what is a PC case helps users learn how computer components are protected and organized. The PC case is the outer shell that holds all hardware parts. Technology experts…
10 Easy Ways to Extend the Life of Your Computer, Experts Say
Learning how to extend the life of your computer helps save money and maintain performance over time. Computers can last longer with proper care and maintenance. Technology experts explain that…
Why Is My Computer So Slow? Experts Explain Common Causes and Fixes
If a computer so slow becomes noticeable, it can affect daily tasks and productivity. Slow performance is a common issue that many users face over time. Technology experts explain that…
9 Things to Check Before Buying a Desktop PC, Experts Advise
Understanding buying a desktop PC helps users choose a system that fits their needs. Many buyers focus only on price, but performance and features are equally important. Technology experts explain…
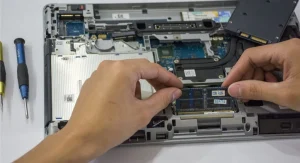
How to Install RAM: Step-by-Step Guide for Beginners
Learning how to install RAM is a simple way to improve computer performance. Adding more memory can help systems run faster and handle multiple tasks smoothly. Hardware experts explain that…