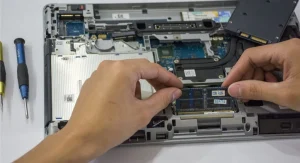


What Is NVMe SSD? Experts Explain Faster Storage Technology
Understanding what is NVMe SSD helps users learn more about modern storage technology. NVMe SSDs are built for high-speed data transfer and improved system performance. Technology experts explain that NVMe…
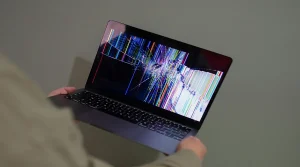
How to Reduce Laptop Fan Noise: Easy Fixes That Work
Knowing how to reduce laptop fan noise can make using your device more comfortable and help maintain better performance. Loud fans are often a sign that the system is overheating…
What Is a Network Card? Experts Explain How Computers Connect
Understanding what is a network card helps users learn how computers connect to networks. A network card enables communication between devices. Technology experts explain that network cards are essential for…
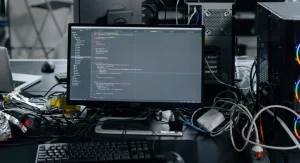
How to Fix a Slow Internet on Your Computer: Simple Steps
Experiencing slow internet on computer can disrupt work and entertainment. Slow speeds can result from network issues, system problems, or external factors. Technology experts explain that most speed issues can…
What Is Cache Memory? Experts Explain How It Speeds Up Your Computer
Understanding what is cache memory helps explain how computers process data quickly. Cache memory is a small, fast memory used by the CPU. Technology experts explain that cache memory improves…
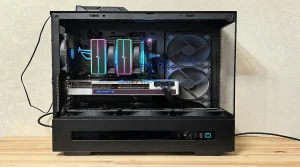
What Is a Power Supply Unit? Experts Explain PSU Basics
Understanding what is a power supply unit helps users learn how computers receive power. The PSU is responsible for supplying electricity to all components. Technology experts explain that without a…
SSD vs HDD: Experts Explain Which Storage Is Better
Understanding SSD vs HDD helps users choose the right storage for their computer. Both options store data but differ in speed and performance. Technology experts explain that SSDs are faster,…
What Is a CPU? Experts Explain How Your Computer Processes Data
Understanding what is a CPU helps users learn how computers perform tasks. The CPU is often called the brain of the computer. Technology experts explain that the CPU processes instructions…
How to Fix No Internet Connection on a Computer: Easy Steps
Facing a no internet connection issue can interrupt work and communication. This problem can occur due to network or system errors. Technology experts explain that most connection issues can be…
What Is a Sound Card? Experts Explain Audio Hardware Basics
Understanding what a sound card is helps users learn how computers handle audio. A sound card is responsible for processing sound signals. Technology experts explain that sound cards enhance audio…