When you start a garden in a newly built place, on a lot that’s just been levelled, or on ground that’s had grass for ages, you’ll usually find the soil is hard, lacks goodness, and doesn’t have much life in it. The best bit of soil – the dark top layer full of rotted stuff where most roots grow and most soil creatures live might have been taken away when the building work happened, covered by poorer soil from underneath, or spoiled by many years of using chemicals on the lawn. You absolutely can turn this poor starting point into good, productive soil, but you need to do things in a sensible order and accept it will take time.
Soil experts say making soil healthy is really about making a good home for all the life in the soil. Bacteria, fungi, worms, and loads of other things are the ones who break down organic matter into food plants can use, build the soil’s form and hold, and generally keep the complicated system going that allows plants to grow well. As a gardener, your main role is to give food to these soil creatures, and they do the actual work of improving the soil.
Step 1: Assess What Exists
It’s a good idea to find out what your soil is like before you start changing things. You don’t want to waste time or money. You can get a proper soil test from your county extension office for between ten and twenty-five dollars and it will tell you the pH, how many nutrients are in the soil, the amount of organic material, and the soil’s texture. All of these details are important for deciding what to add to the soil and how much. For a quick look at texture, you can do a jar test – shake some soil with water and look at the layers of sand, silt and clay as they settle. As for compaction, try to push a screwdriver or metal rod into the soil. If you can’t get it in more than six inches because of resistance, the soil is compacted and needs to be loosened with a machine before you add anything to it.
Step 2: Break Up Compaction
When the ground gets packed down, roots have trouble growing, water can’t soak in easily, and importantly, the living things in the soil don’t get the air they need to live and work. For a small garden, you can really improve things quickly by double digging, which is to say, using a garden fork to loosen the soil to between one and two feet deep. For bigger spaces, a broadfork or a mechanical tiller (but just for that first loosening, not all the time!) will break up the hard layers. After you’ve dealt with the packed soil, you really want to make sure it doesn’t get that way again. To do this, set up paths and growing areas that you always use, and never walk on the soil where your plants are growing, to keep it loose, full of air, and productive.
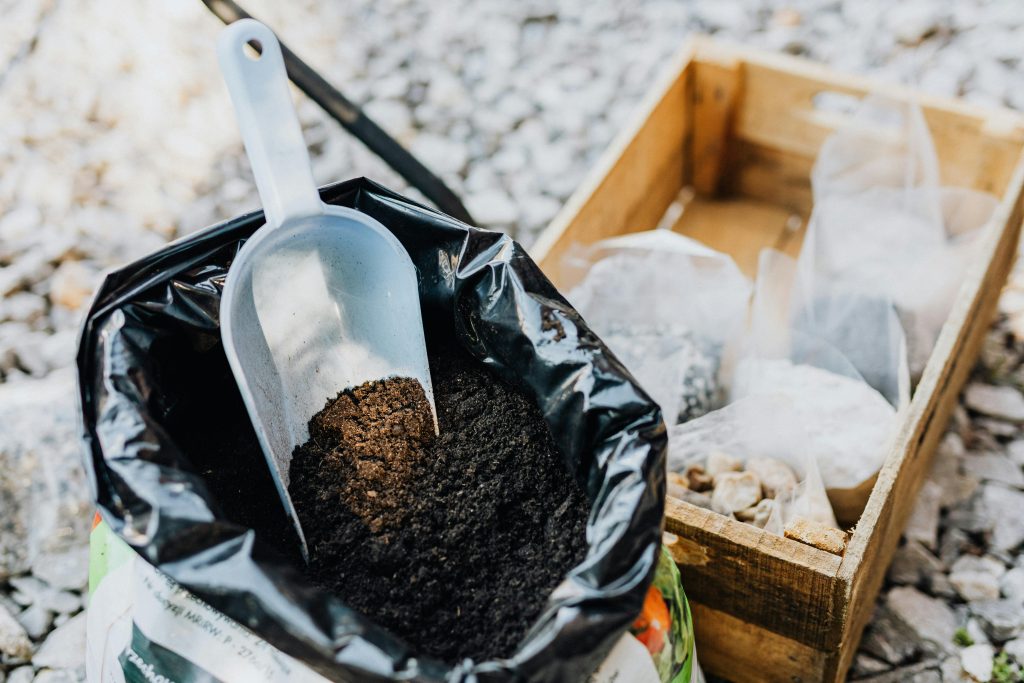
Step 3: Add Massive Amounts of Organic Matter
If your soil is bad to begin with, adding organic matter is the best thing you can do to fix it. Compost, well-rotted manure, shredded leaves and composted wood chips are all organic matter and they do a lot of good for the life in the soil, they help sandy soil hold water, improve how water goes through heavy clay, and slowly give plants all the nourishment they require. If the soil is really, really poor, digging six to four inches of ready to use compost into the first eight to twelve inches of soil will make a really obvious, quick difference. Then, each year after that, adding an inch or two of compost will keep the organic matter going up and improving. Good productive garden soil will have five to eight percent organic matter when weighed, and to go from just one or two percent to that takes about three to five years of regularly adding organic material.
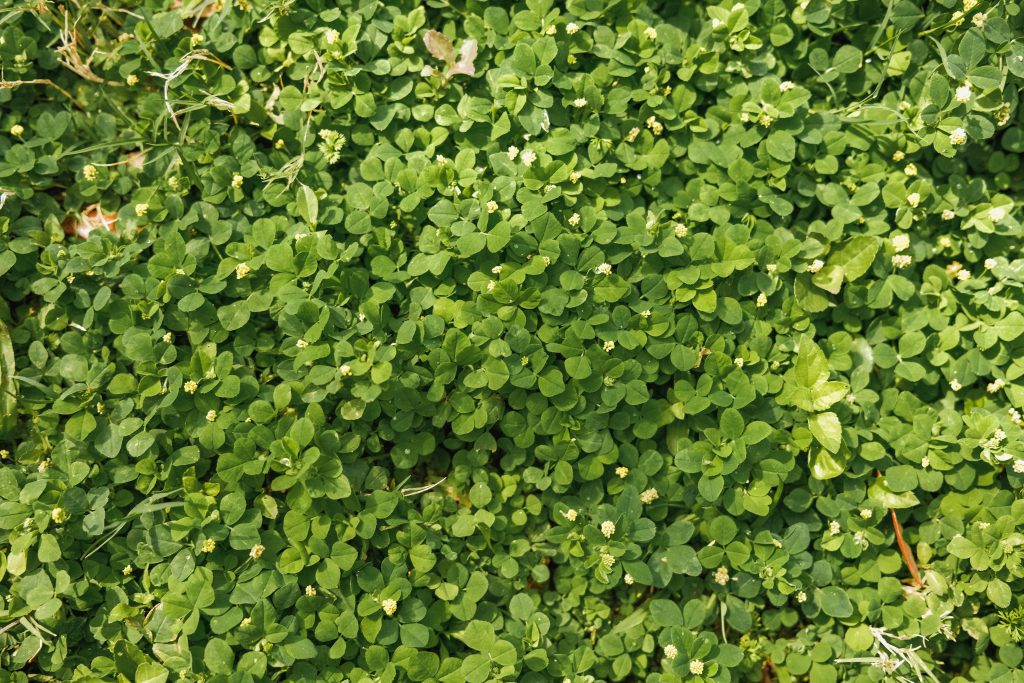
Step 4: Plant Cover Crops Between Seasons
Instead of being grown to be collected, cover crops are plants for improving the soil. They quickly improve the soil by making organic material right where it is, by giving food to the life in the soil through what their roots give off, and by stopping the soil from washing or blowing away when you aren’t using it for your main crops. Winter rye, crimson clover, buckwheat, field peas are some of the best cover crops for a garden at home. If you grow these during autumn and winter, then chop them down and dig them into the soil in the springtime, you will add a lot of organic material and soil life, something you just can’t get from something you buy. Cover cropping is especially helpful for the first two or three years of improving your soil as the basis of soil life is being created.
The Realistic Timeline
If you’re starting with really bad soil and adding a lot of compost, you’ll likely see plants that are doing much better and giving you a bigger harvest in that first year compared to if you hadn’t added anything. By the end of the second or third year you will probably start to see the soil itself is getting better: it will begin to clump together in chunks, you’ll see earthworms around, and it will feel soft and full of life. But to get soil that’s truly good, full of life, and will give you a lovely garden, needs three to five years of regularly adding things like compost, planting cover crops and generally looking after it. It can seem like a long wait, but each year what you do builds on what you did the year before and the improvements get faster and faster as time goes on.
Key Takeaway
To create really good garden soil when you’re beginning with nothing, you first need a soil test to see what you have to work with. Then you have to physically break up any hard layers in the soil. What follows is a lot of compost at the beginning, so you’re digging in a four to six inch layer into the top twelve inches of soil. Each year after that, you should add a one to two inch layer of compost to the top. Also, when you’re not actively growing things, use cover crops. You’ll see a difference in the first year, but the soil will be truly changed for the better after three to five years. The main thing that makes this happen is keeping the life in the soil happy by consistently adding things that used to be alive. These living things are what build the soil and move nutrients around, and that is what allows you to have a successful garden.
Leave a Reply